How to Maintain a Washing Machine: Practical Steps for Longevity

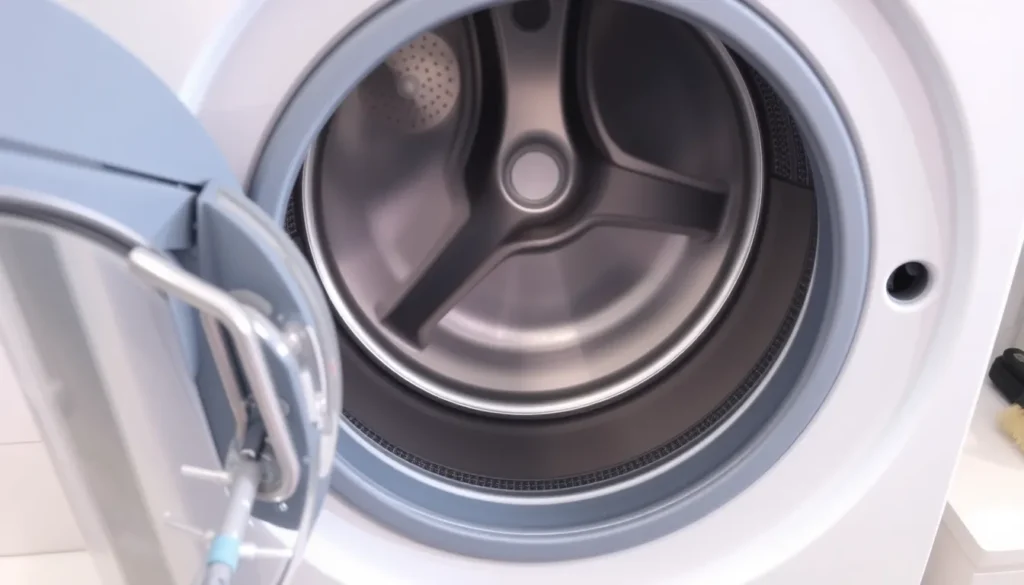
This guide helps you extend the life of your washing machine through simple, consistent habits. Whether you own a front-load or top-load model, these steps prevent costly repairs by addressing common failure points before they escalate. You will learn how to perform routine checks on critical components like the drum, gasket, and pump filter. The focus is on low-effort actions that fit into your existing laundry routine, ensuring your appliance runs efficiently for years without excessive downtime or energy waste.
Why Regular Maintenance Prevents Breakdowns
The core issue with washing machine failure is accumulation. Lint, detergent residue, and trapped moisture combine to create a breeding ground for mold and clogs. These deposits gradually restrict water flow, corrode internal parts, and generate persistent odors that standard cycles cannot remove. Ignoring this buildup forces the pump and motor to work harder, accelerating mechanical wear.
Front-load and top-load models handle these elements differently. Top-loaders benefit from constant airflow when the lid is open, which helps dry the drum between cycles. Front-loads rely on a rubber gasket to keep water contained. This seal traps moisture and lint in hard-to-reach crevices, making front-loaders significantly more prone to mildew and odor without consistent attention.
Maintenance is strictly about prevention, not repair. By addressing these accumulation points early, you stop minor issues from escalating into expensive component failures. The goal is not to fix a broken pump after it seizes, but to keep the pump filter clear so it never clogs in the first place. Regular, low-effort checks ensure the appliance operates efficiently, extending its functional life without the need for complex diagnostics or part replacements.
Daily Habits That Reduce Wear and Tear
Consistent, low-effort actions after every wash cycle form the backbone of washing machine longevity. These habits prevent moisture buildup and mechanical stress before they compromise internal components.
Immediately after a cycle ends, leave the door or lid slightly ajar. This simple step allows residual moisture to evaporate, significantly reducing the risk of mold and mildew developing inside the drum. For front-load machines, pay special attention to the rubber gasket. Wipe it down with a dry cloth to remove trapped water and lint. Debris lodged in the folds of the gasket creates a damp environment where odor-causing bacteria thrive, while also accelerating rubber degradation over time.
If your top-load model features a lint trap, clean it regularly. Accumulated fibers can restrict water flow and put unnecessary strain on the drainage system. Additionally, take a moment to check the drain hose for kinks or sharp bends before starting a new cycle. A restricted drain hose forces the pump to work harder, leading to premature wear and potential overheating. By addressing these small details daily, you maintain optimal airflow and drainage efficiency, ensuring the machine operates smoothly and reliably year after year.
Monthly Deep Cleaning of the Drum and Dispenser
- Ensure the drum is completely empty. Remove all clothing and verify no items remain in the dispenser drawer or gasket folds.
- Select the hottest water cycle available for your machine. This high temperature is essential to dissolve mineral deposits and kill mildew effectively.
- Add your chosen cleaning agent directly into the drum, not the dispenser. White vinegar, baking soda, or a dedicated washing machine cleaner all work well. Avoid mixing different chemicals unless the product instructions specifically permit it.
- Run the full cycle. For front-load machines, pause halfway through if the cycle allows it. Let the hot, soapy water sit for thirty minutes to break down stubborn buildup before resuming the wash.
While the cycle runs, pull out the detergent dispenser drawer. Rinse it under warm running water to flush out dissolved residue. Use an old toothbrush to scrub the corners where mold often hides. Dry it thoroughly before reinserting it to prevent new microbial growth.
Once the cycle finishes, wipe down the interior of the door seal thoroughly. Front-load machines trap moisture in the gasket folds, creating an ideal environment for mold. Use a clean cloth to dry these areas completely. For top-load models, inspect the lid hinge area. Wipe away any lint or detergent film that may have accumulated, as this can impede the lid lock mechanism over time. Finally, leave the door or lid ajar between washes to allow the interior to air out, keeping the machine fresh and ready for daily use.
Inspecting and Cleaning the Pump Filter
The pump filter traps coins, buttons, lint, and other debris before they clog the drainage system. Neglecting this part is a leading cause of slow draining or complete pump failure. Locate the filter first; on most front-load machines, it sits behind a small access panel at the bottom front corner. On certain top-load models, it may be accessible near the drain area inside the drum.
Before touching anything, prepare a shallow bowl or bucket and lay a thick towel on the floor directly below the filter. Water often remains trapped in the pipes, so removing the filter will release it. Unscrew the filter cap slowly to allow liquid to drain into your container. Once the water stops, pull the filter out completely. Clear away any foreign objects, paying close attention to small items like coins or jewelry that can jam the impeller.
Inspect the filter housing for trapped debris and wipe it clean with a dry cloth. Reinsert the filter and screw it back on tightly to prevent leaks. Push the towel aside and check for drips. If water continues to seep, ensure the gasket or seal around the filter is seated correctly. This simple task takes minutes but protects the pump motor from expensive damage.
Checking the Drain Hose and External Connections
Beyond the internal components, the external plumbing determines whether your machine drains efficiently. Start by tracing the drain hose from the back of the unit to the standpipe or wall connection. Look for visible kinks, crushing, or loose clamps. A bent hose restricts water flow, causing the pump to work harder and potentially trigger error codes.
Pay close attention to the hose’s mounting height. If the drain hose sits too low, gravity may pull water out of the tub before the cycle ends, a phenomenon known as siphoning. If it is too high, water may not drain fully. The pipe should typically loop upward before descending into the drain point. Ensure the connection is secure but not over-tightened, which can crack the plastic fittings.
Next, inspect the water inlet hoses. Run your hands along their length to feel for soft spots, bulges, or bulging areas that indicate internal weakening. Check the ends for cracks or dried detergent residue. While small leaks might seem minor, they can warp the machine’s base or damage nearby flooring over time. If you spot significant wear, replace these hoses immediately rather than waiting for a major leak. This physical inspection requires no tools and takes less time than cleaning the drum, yet it prevents some of the most disruptive water damage scenarios.
When to Call a Professional
Knowing when to stop DIY cleaning is critical. While routine tasks like clearing the pump filter or wiping the gasket are safe, certain symptoms indicate internal mechanical failure that requires specialized tools and expertise. Continued use of a malfunctioning machine can turn a simple repair into a complete replacement.
Call a professional immediately if you notice persistent loud noises, such as grinding or banging, which often signal bearing or motor issues. Water leaking from the bottom of the unit, rather than just the door seal, suggests a cracked tub or failed pump seal. Additionally, if error codes remain after a power reset, or if the drum refuses to spin despite a cleared filter, internal wiring or control board problems are likely.
Do not attempt to open the main housing or access motor components yourself. Lacking proper training, you risk electric shock and can void your warranty. Professional technicians have the diagnostic equipment to identify root causes accurately, ensuring the fix is permanent and safe. Attempting complex internal repairs without experience often exacerbates the damage, leading to higher costs and longer downtime. When in doubt, err on the side of caution and schedule a service visit.
